Hello guys, today i'm going to show you how to download and configure genymotion.
To start with, genymotion is one of the best emulator for debugging Android programs and easy to use.
Some reasons why you would prefer genymotion to default sdk AVD (Android virtual devise) or a real device (Android phone ) :
- Easy to debug. As compared to a phone which outputs a lot of junk that makes it harder to debug as your track errors, genymotion will pause the debug output when your program runs into an error, thus, making it the best for debugging.- Resizable window, as compared to to AVD whose window once created can't be resized as you run, genymotion window can be resized in real-time once you've started it.
- Easy-to-use features, genymotion offers a lot of functionality as a real device, for example, you can alter genymotion battery level of you want to see how your program behaves with varying battery levels. Also network signal strength, and in any case, if your working with maps, it's easy to change the emulators location. This help help a lot when you want to see how your app works in different geographic locations.
* To download genymotion, you must have an account with them first. It's Free to create one*
Download procedure :
1. Click here to download.
2. If you have an account already, you can login, if you don't, then you'll have to create one.

3. For you to install genymotion, you must have VirtualBox installed, it uses it to run the virtual devices.
- If you have VirtualBox installed, then download genymotion only without VirtualBox.
- if you don't have VirtualBox installed, then you wanna download the genymotion version that has VirtualBox

- You can also download VirtualBox independently from Oracle site here and from VirtualBox official site here.
Installation of Genymotion:
- If you downloaded genymotion with VirtualBox, then all you have to do is run the setup and follow the installation guide.- If you downloaded the VirtualBox and genymotion separately, then you start installing VirtualBox first then followed by genymotion.
Running genymotion :
For genymotion to run, there are some few things you must have setup first.1. Virtualization should be on,
If you don't know how, then just boot your machine to the bios setup, then on the advanced tab, set the Virtualization option to Enabled and save the changes.
2. In some laptops, like mine (hp pavilion G6), you have to disable hyperv feature, else you'll encounter some errors <Image of the error coming soon...>.

- To disable hyperv, just type "turn windows features on off" on the search menu, then from the configurations, disabled hyperv then your good to go.

# Another error you may encounter is this one:

- To fix that, just start VirtualBox first then genymotion afterwards.
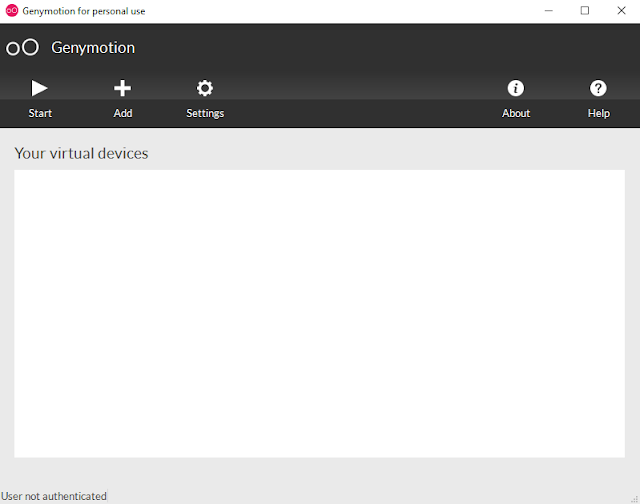
Adding a device in genymotion.
- Genymotion offers a couple of virtual devices that you can download and use, it offers all Android versions devices and for all screen sizes with different resolutions too.
- Click on the add, to add a device
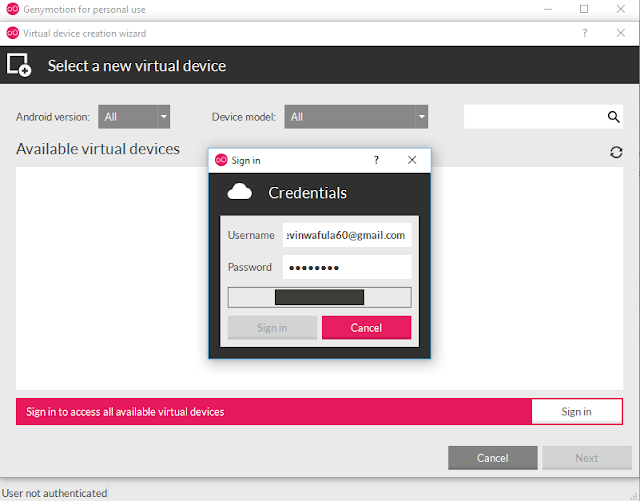
- Genymotion will prompt you to sign in for you to access the list of virtual devices available,
for this case, just fill in your credentials and sign in.

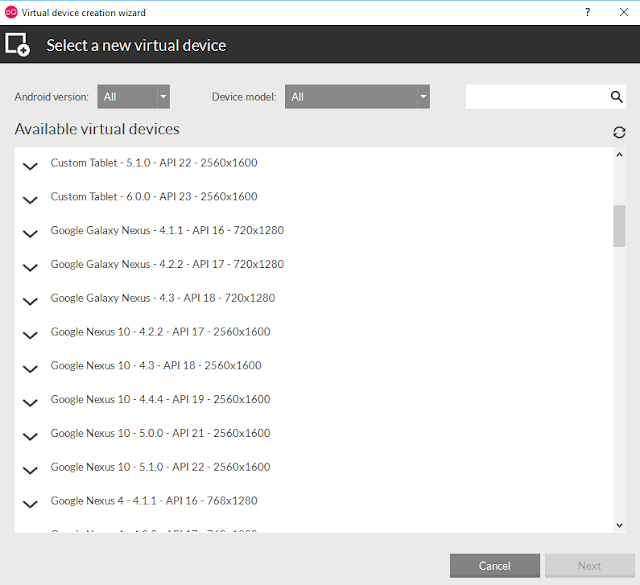
-After being authenticated, genymotion will give you a list of all available devices for you to download.
- At this point, just select one of your favourite virtual device ranging from google nexus, htc, samsung, xperia... in my case i'm used to google nexus 6 with android version 5.1., so thus what im gonna select, Click Next.
In the window, you'll see the specifications of the device, you can also rename it. Click Next.

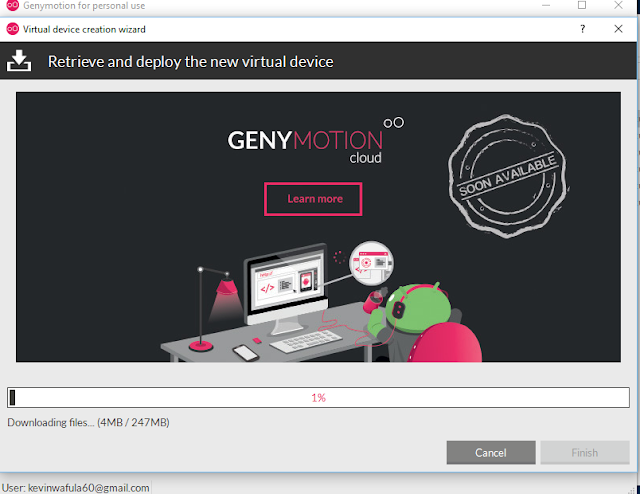
Genymotion will start downloading your virtual device; the beauty with genymotion is that, it has a very powerful download manager, you'll only need some few minutes for it to be done
When the download is complete, just click on finish. You'll be taken back to the first window showing your downloaded virtual device, and any other if you had others.
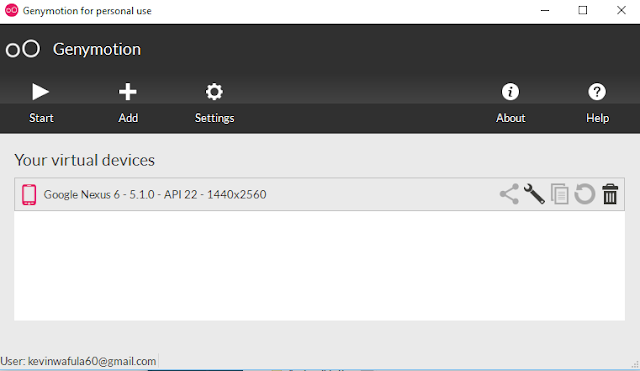
To run the virtual device, just double click on the device and your good to go.

That's it, you've successfully downloaded, installed, configured genymotion. Moreso, you've added a Virtual Device and its working.
> First, close the 'Select Deployment Target' dialog,
> Click the debug button,
> You'll be prompted to restart adb, which you'll select 'Restart',


Also Checkout:
* Installing Google Apps in genymotion.
- Genymotion offers a couple of virtual devices that you can download and use, it offers all Android versions devices and for all screen sizes with different resolutions too.

- Click on the add, to add a device
- Genymotion will prompt you to sign in for you to access the list of virtual devices available,
for this case, just fill in your credentials and sign in.


-After being authenticated, genymotion will give you a list of all available devices for you to download.
- At this point, just select one of your favourite virtual device ranging from google nexus, htc, samsung, xperia... in my case i'm used to google nexus 6 with android version 5.1., so thus what im gonna select, Click Next.
In the window, you'll see the specifications of the device, you can also rename it. Click Next.

Genymotion will start downloading your virtual device; the beauty with genymotion is that, it has a very powerful download manager, you'll only need some few minutes for it to be done

When the download is complete, just click on finish. You'll be taken back to the first window showing your downloaded virtual device, and any other if you had others.

To run the virtual device, just double click on the device and your good to go.
That's it, you've successfully downloaded, installed, configured genymotion. Moreso, you've added a Virtual Device and its working.
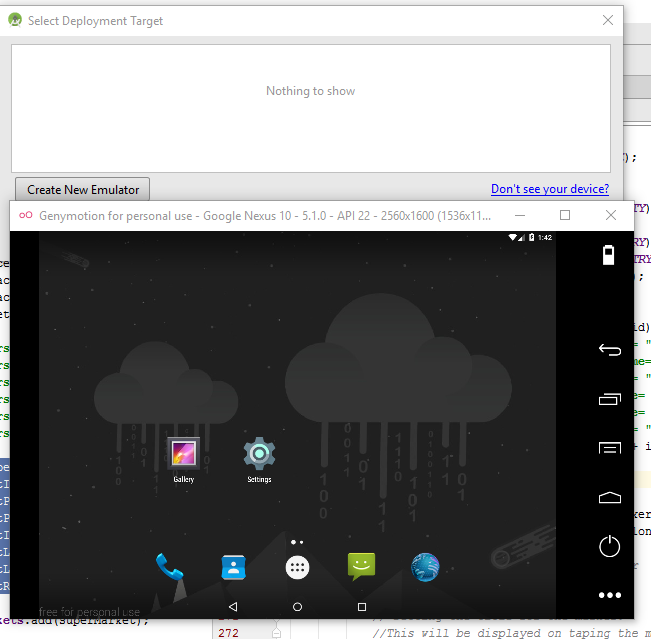
Not Seeing A Virtual Device on Project Deploy?
- In case you have run an emulator and you want to run your project, but your virtual device doesn't appear on the 'Select Deployment Target' dialog after clicking the run button, don't restart the emulator.> First, close the 'Select Deployment Target' dialog,
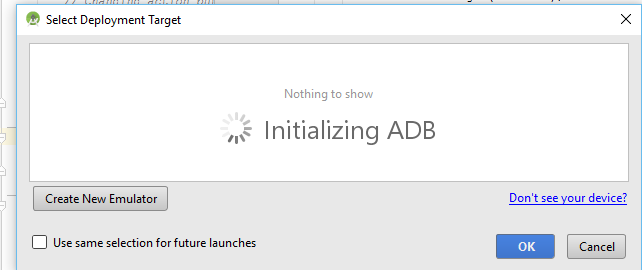
> Click the debug button,

> You'll be prompted to restart adb, which you'll select 'Restart',
> You may be prompted on the dialog, once or twice, just select 'Restart',.. and after some few seconds, you'll be able to see your virtual device. Now your ready to continue running your project.
Also Checkout:
* Installing Google Apps in genymotion.


yes buddy, thos this is far more better too than bluestacks,
ReplyDelete- installing an app in this one is very easy, just drag and drop it on an open running emulator, then you'll be good to go